
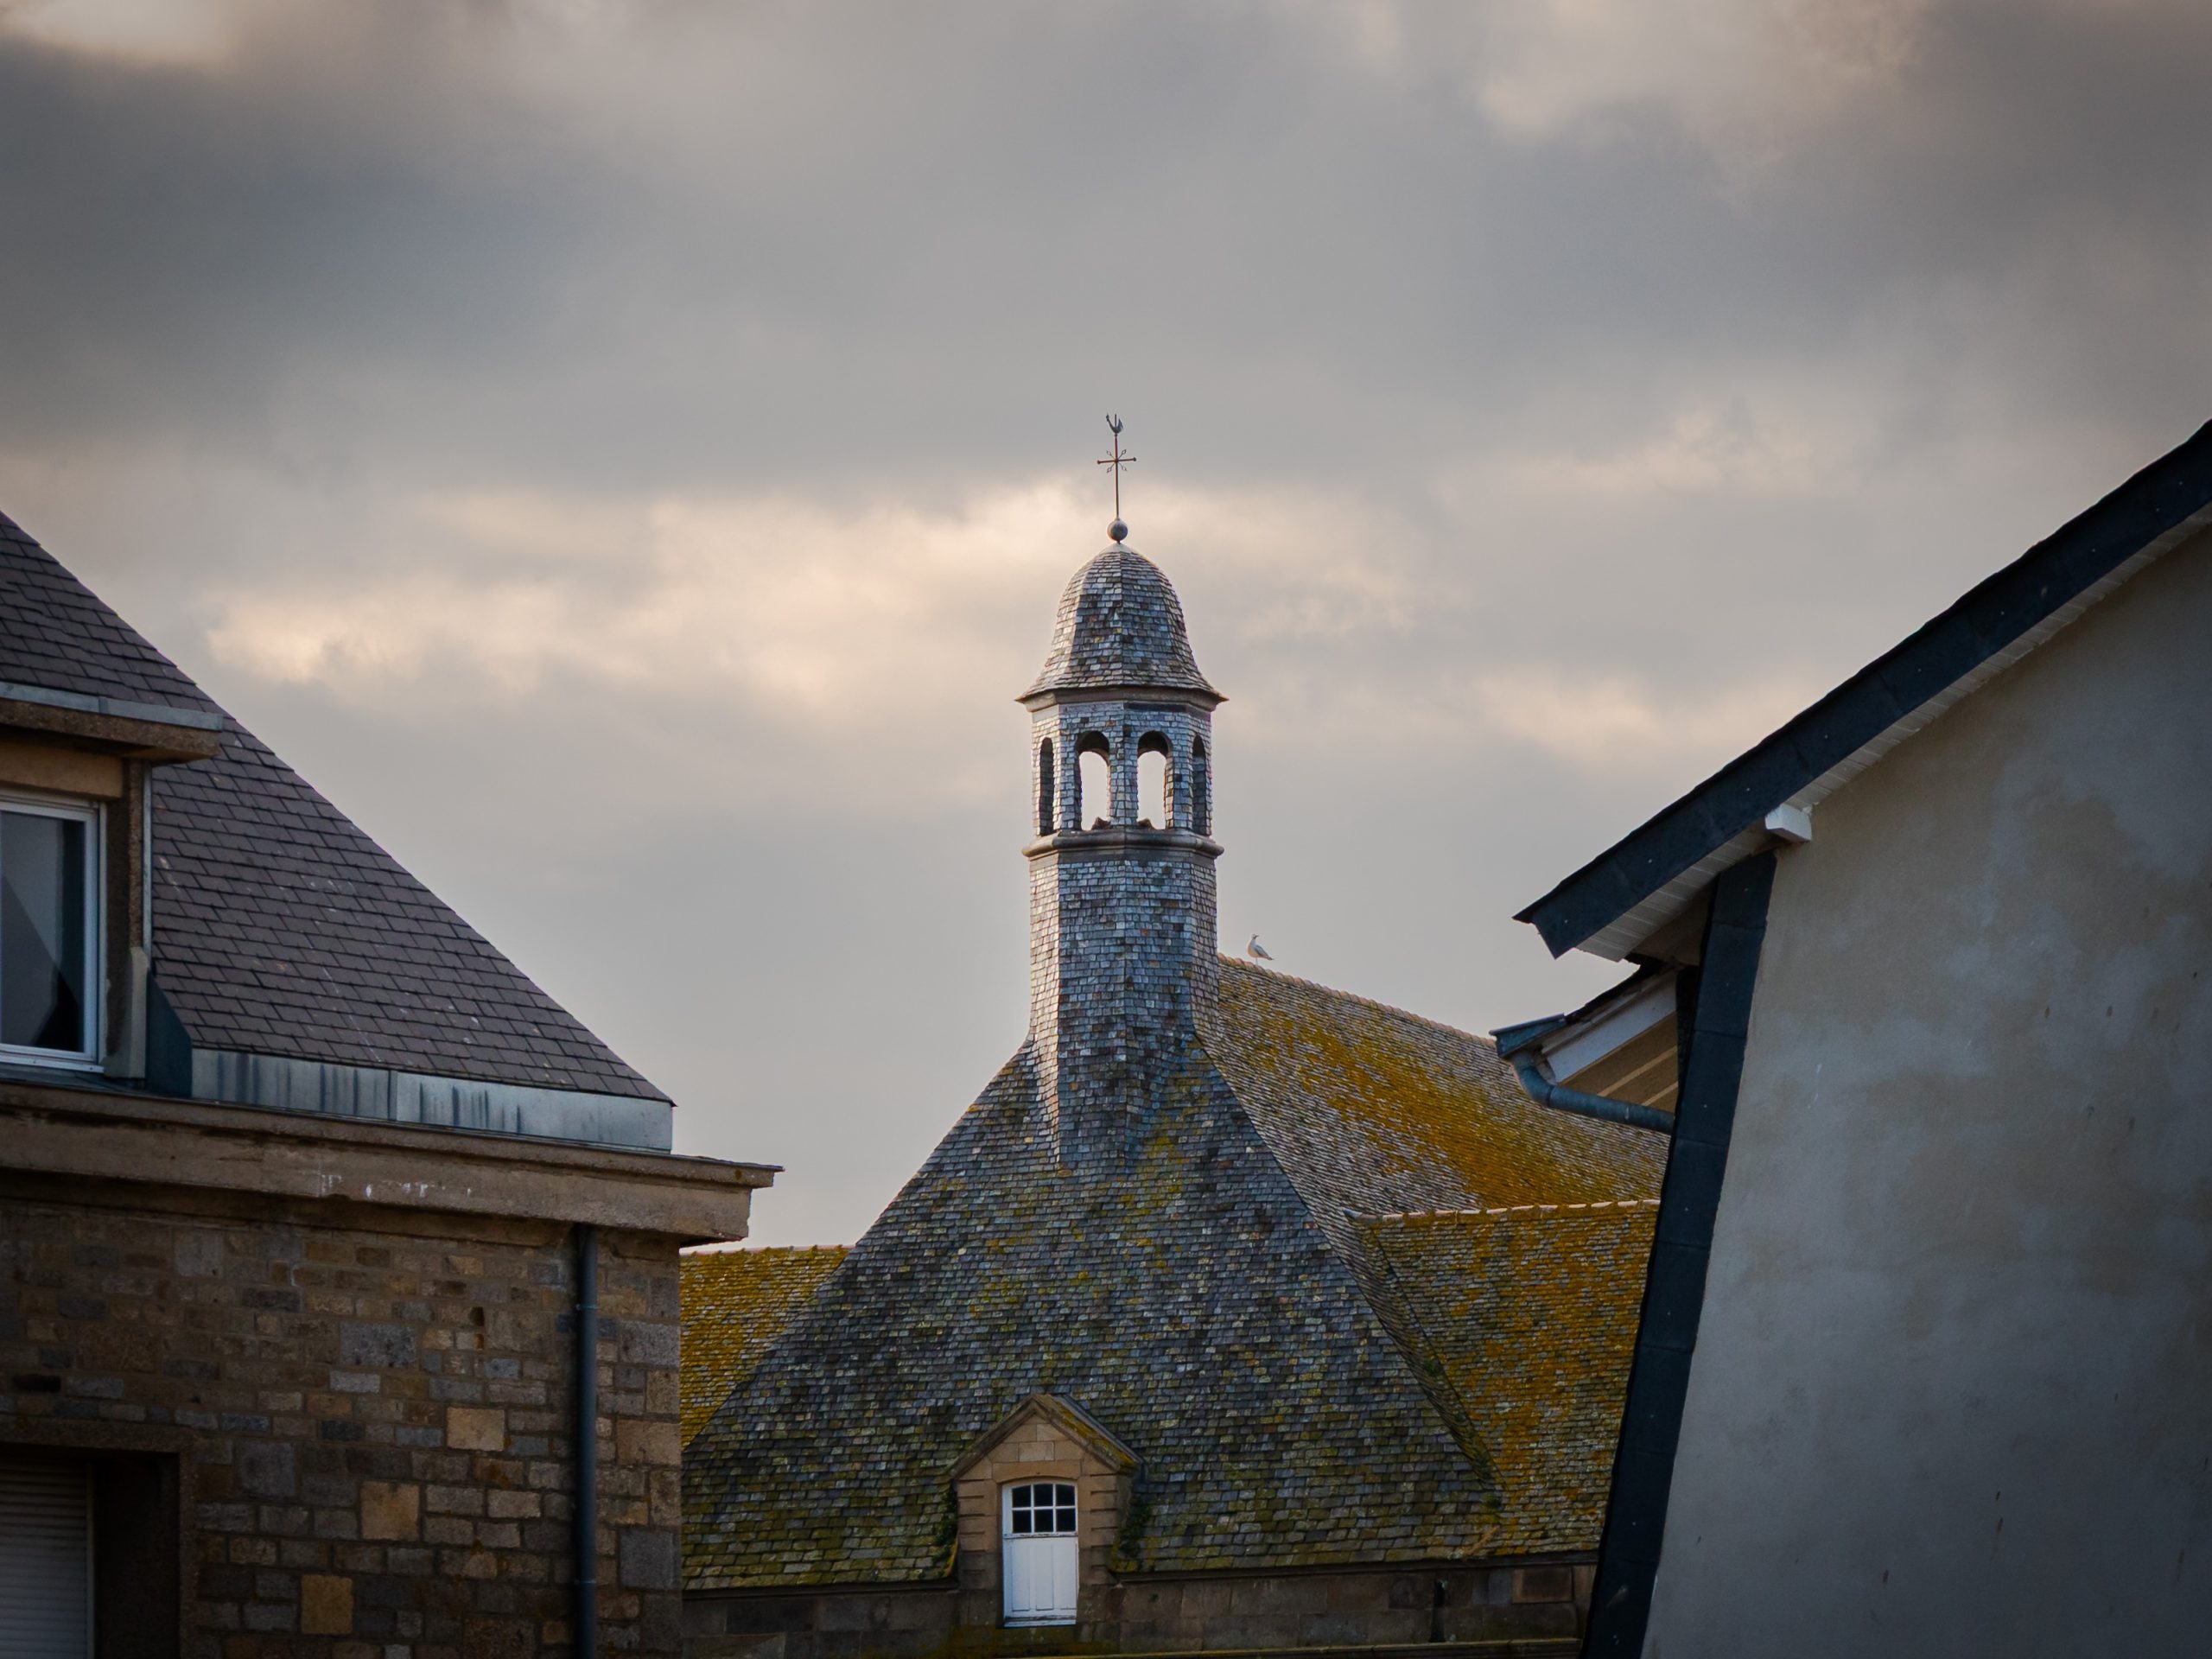
Hanging pictures on a brick wall starts with the fixing, not the frame. Identify the wall, check the weight of the finished picture, and use hardware rated for both. A careful plan protects the print and keeps the brick from becoming a row of abandoned holes.
Check what the wall is made from
“Brick wall” can mean solid brick, a brick-faced cavity wall, thin brick slips, or a decorative surface over another material. Those walls do not all take the same fixing. Look for an exposed edge, ask the property owner, or get advice from an experienced installer before drilling if the construction is unclear.
Check the wall condition too. Crumbling mortar, flaking brick and damp patches need attention before a framed photograph goes up. Do not assume that drilling into mortar is always safer than drilling into brick. The right position depends on the substrate, the fixing and the load.
Before making a hole, check for cables and pipes with a suitable detector. Be especially cautious near sockets, switches, radiators and plumbing. If you cannot establish a safe fixing point, stop and use a professional installer.
Choose the fixing by weight, not appearance
Weigh the finished frame, including glazing, backing and hanging hardware. Product packaging for hooks, plugs, screws and clips should give a compatible wall type and a safe load. Stay comfortably within that limit rather than treating it as a target.
Masonry plug and screw
This is the usual permanent route for a framed print. Use the drill bit, plug and screw combination specified by the fixing manufacturer. The wall must be sound, and the picture wire or bracket must sit securely on the screw head.
Brick clip or clamp
Some clips grip the top and bottom edges of exposed bricks without drilling. They only work when the brick shape, joint depth and frame weight match the clip’s instructions. Test the fit before placing the photograph underneath it.
Adhesive strip
Uneven or dusty masonry can give adhesive very little reliable contact. Use a strip only if the maker approves brick or textured masonry and the finished frame is within its rating. A smooth-wall claim is not enough.
Picture rail or ledge
An existing rail lets you adjust picture height without drilling a new hole for every frame. A properly installed ledge offers similar flexibility. The rail or ledge still needs to be secure enough for the combined load.
Plan the position before you drill
Cut a paper template to the outside size of the frame and tape it lightly in place. View it from the doorway, the main seat and the other side of the room. Brick joints can tempt you to move the picture simply because one fixing point looks convenient. Judge the photograph against the room first.
For a single picture, a centre close to normal eye level is a useful starting point. Above a sofa, sideboard or desk, the frame should feel connected to the furniture rather than floating near the ceiling. The separate guide to how high to hang photography wall art covers those proportions in more detail.
Mark the hanging point from the actual hardware on the back, not from the top edge of the frame. Picture wire rises under tension. D-rings, sawtooth hangers and split battens all place the fixing differently.
Let the photograph calm the brick
Exposed brick already has colour, texture and repeated lines. The photograph does not need to compete with all three. A simple frame and a picture with one clear visual direction will usually sit more quietly than a crowded scene inside an ornate frame.
Black or dark frames give a clean boundary against warm brick. Pale wood can soften the contrast. Neither choice has to match every piece of furniture. The frame should support the photograph, which is why it helps to choose the image before choosing the frame.
Two useful directions are structured architecture and open landscape. The first echoes the wall’s geometry. The second gives the eye some distance from the texture.
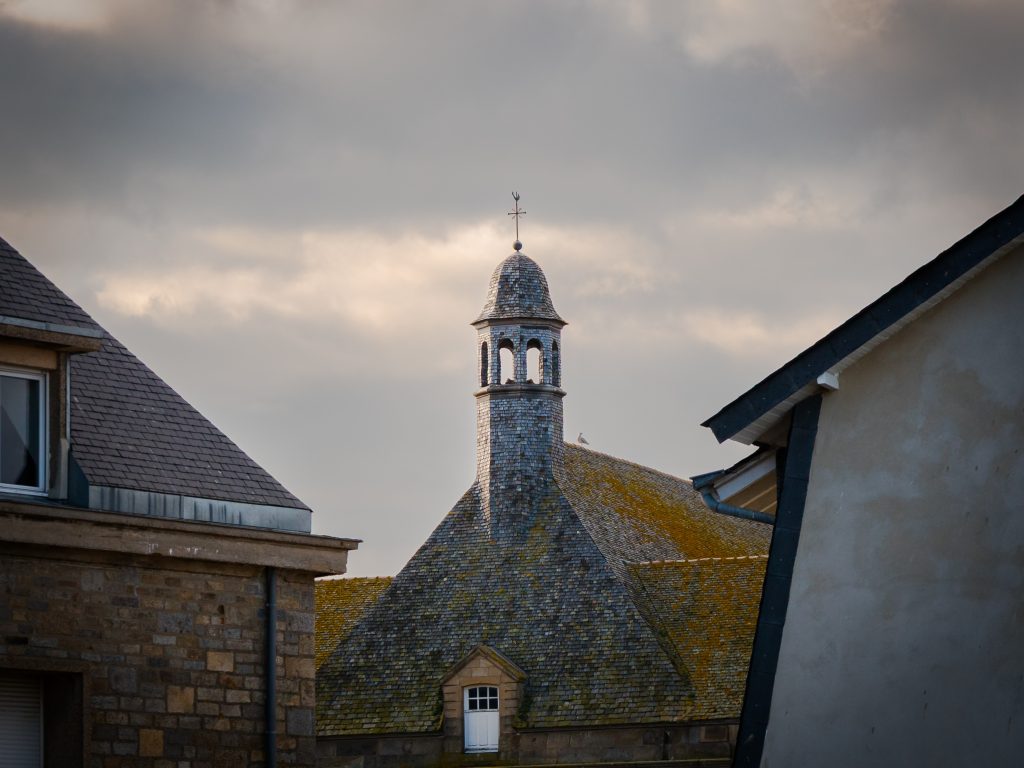
Storm Over the Belfry
Stone, rooflines and a dark sky give the print enough structure to hold its own beside textured brick.

Three Olive Trees
Mist, pale distance and a simple subject provide a softer counterweight to a wall with strong texture.
Do a final check before letting go
Once the fixing is installed, apply gentle downward pressure before hanging the print. Check that the frame hardware is closed, the wire is not frayed, and the picture sits flat rather than tipping forward. With two fixing points, use a level and make sure both carry the load.
Brick dust can settle on glazing and frames. Remove loose dust with a soft, dry cloth rather than spraying cleaner near the print. Keep the photograph away from persistent damp, strong heat and direct sun where possible. The guide to caring for framed photography prints explains the gentler routine.
The neatest result is not the cleverest fixing. It is a secure picture, placed once, with enough room around it for both the photograph and the brick to breathe.
Find a photograph for a textured wall
Choose the print first. Then weigh the finished frame and select a fixing made for the wall in front of you.