ISO is one of the first camera settings people hear about, and one of the easiest to misunderstand. It is not a magic low-light button. It is a practical trade-off between brightness, shutter speed, image noise, and the final feeling of a photograph.
Search data keeps pointing to the same beginner question: what is ISO in photography?
The short answer is this: ISO controls how bright the camera records the image after light reaches the sensor. A lower ISO usually gives a cleaner file. A higher ISO helps when there is less light, but it can introduce grain, colour noise, and a rougher texture.
That sounds technical, but in real photographs it becomes very human. ISO can be the difference between a sharp image with a little grain and a clean image that is too blurry to use. Neither low ISO nor high ISO is automatically better. The right choice depends on the light, the subject, the camera, and the kind of image you want to make.
What ISO actually does
ISO started as a standard for film sensitivity. Faster film reacted to light more quickly. Slower film needed more light, but usually gave a cleaner image. Digital cameras work differently, but the practical idea remains useful: ISO changes how bright the camera makes the captured signal.
ISO 100 or 200 is usually used in bright conditions, on a tripod, or when the photographer wants the cleanest possible file. ISO 800, 1600, or higher is used when there is less light, when the subject is moving, or when the camera needs a faster shutter speed to avoid blur.
This is why ISO sits alongside aperture and shutter speed. Aperture controls how much light enters through the lens. Shutter speed controls how long the sensor sees that light. ISO controls how bright the camera records the result.
Change one of those settings, and the others often need to move with it.
Why high ISO can look noisy
Noise is the speckled texture you sometimes see in darker digital photographs. It can show up as rough grain, coloured dots, muddy shadows, or a loss of fine detail. The higher the ISO, the more the camera has to amplify the signal from the sensor. When the useful signal is amplified, the imperfections are amplified too.
That is why noise often appears first in the shadows. Dark areas contain less clean information, so when the camera brightens them, the roughness becomes easier to see. Smooth skies, plain walls, deep shadows, glass reflections, and black clothing can reveal it quickly.
High ISO does not ruin a photograph by itself. Modern cameras handle higher ISO far better than older ones. A strong image with a little noise is still a strong image. But if the photograph depends on clean lines, subtle tonal changes, or large print detail, ISO matters more.
This is especially true for architectural and fine art prints. Straight edges, stone texture, glass reflections, and open skies can all show noise if the file is pushed too hard. That is one reason many photographers still use tripods, early light, careful timing, and patient exposure work. The point is not to make the process look complicated. The point is to protect the quiet details that only show up in a well-made print.
Low ISO versus high ISO
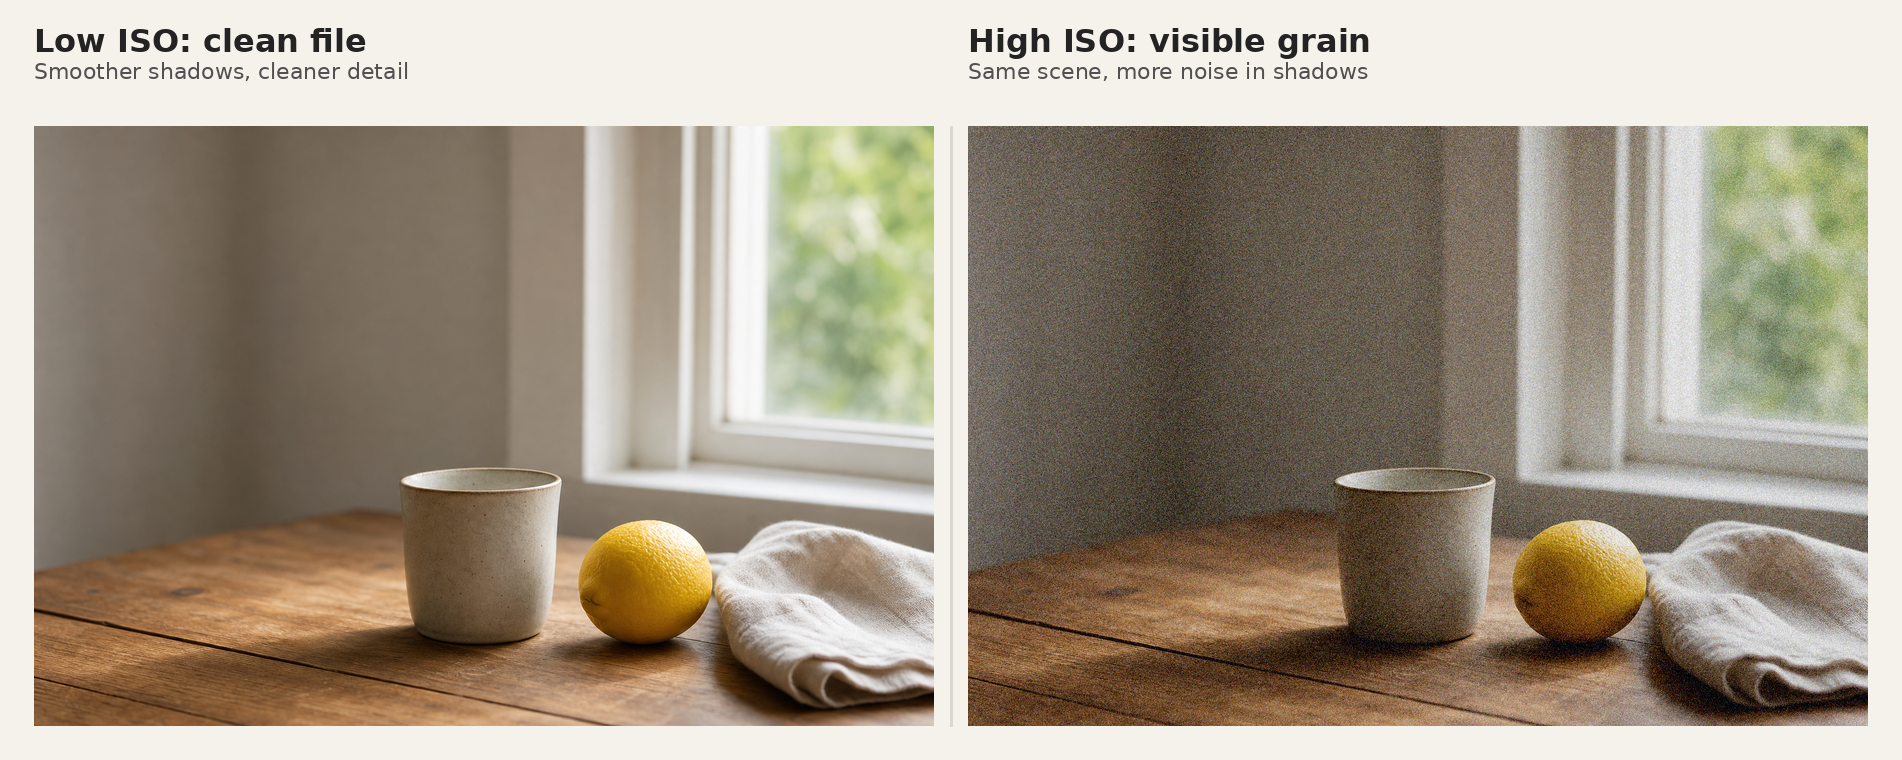
The cleanest way to understand ISO is to compare the same scene twice. With low ISO, the image usually feels smoother and more controlled. Shadows transition gently, fine textures stay more intact, and flat areas do not break apart into speckles.
With high ISO, the camera becomes more flexible in low light. You can keep a faster shutter speed, which helps avoid motion blur and camera shake. The trade-off is that the file looks rougher. Details may soften, shadows may become grainier, and colour can become less stable in darker areas.
Low ISO
Cleaner shadows, smoother skies, more preserved detail, and a calmer finish. Best when there is enough light, the subject is still, or the camera is on a tripod.
High ISO
More flexibility in low light, faster handheld shooting, and sometimes a more immediate documentary feeling. Best when sharpness matters more than a perfectly clean file.
Black and white photography makes this even more interesting. Grain can feel intentional when colour is removed. It can add grit, age, and weight. But it still needs control. Random noise in a weak image looks careless. Texture in a strong image can feel deliberate.
That is why ISO decisions show up clearly in London photography prints. London often gives you mixed light: bright shopfronts, dark streets, glass towers, buses, station lamps, and wet pavements all fighting inside one frame. The camera setting becomes part of how the city feels.
What ISO should you use?
There is no perfect ISO number. The best ISO is the lowest setting that still lets you use the aperture and shutter speed the photograph needs.
| Situation | Typical ISO starting point | Why |
|---|---|---|
| Bright daylight | 100–200 | Clean file, plenty of available light. |
| Cloudy day or shade | 400–800 | Enough help without adding much visible noise. |
| Indoor or evening handheld | 800–3200 | Lets you keep shutter speed fast enough to avoid blur. |
| Tripod landscape or architecture | 100–200 | Use a slower shutter instead of raising ISO. |
If the camera is on a tripod and the subject is still, keep ISO low and let the shutter stay open longer. If you are holding the camera by hand, photographing people, traffic, or wind moving through trees, you may need to raise ISO to keep the image sharp.
The common mistake is treating ISO as the first setting to move. Often it should be the last. First ask: can I open the aperture? Can I use a slower shutter? Can I brace the camera? Can I wait for better light?
If the answer is no, raise ISO. Take the photograph. A slightly noisy image is better than a missed one.
Why ISO matters when choosing photography prints
You do not need to know camera settings to buy a print. But understanding ISO helps you look more carefully.
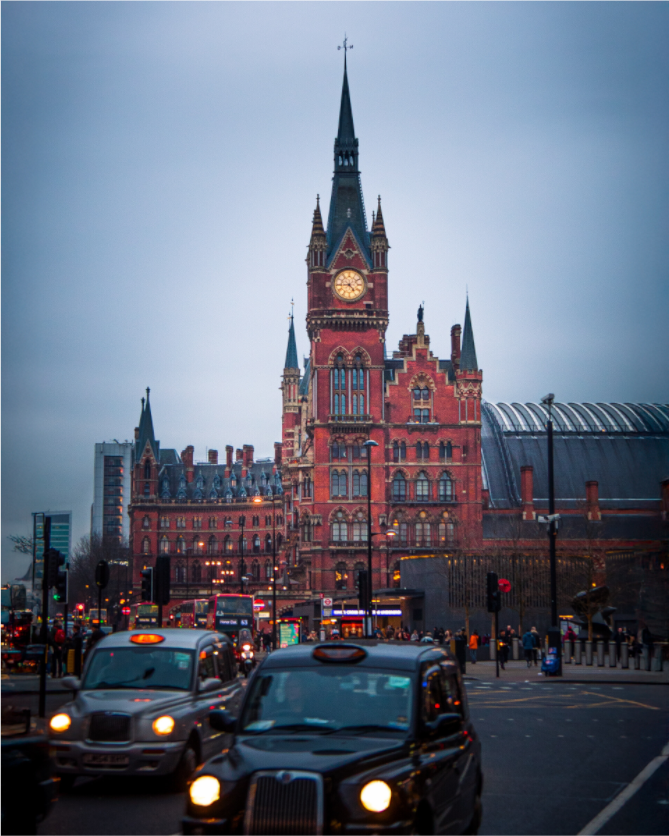
Clean, low-noise images often suit calm interiors. They give the wall space to breathe. You see line, shape, shadow, and proportion before you notice the camera. That is part of the appeal of prints like The Shard from Sky Garden or St. Pancras at Quarter to Five.
Other photographs benefit from a little texture. A dusk street scene can feel too sterile if every surface is perfectly smooth. The right amount of grain can make the image feel closer to the real moment: air, movement, distance, and weather.
For fine art printing, the important question is not whether ISO was high or low. It is whether the final file has enough detail, tonal control, and intention to hold up on paper. A good print should still feel considered when you stand close to it.
Quick conclusion
Low ISO protects detail. High ISO protects the moment.
Use low ISO when you have enough light or the camera is stable. Raise ISO when the shutter speed would otherwise become too slow. The goal is not to avoid grain completely. The goal is to make an intentional choice: clean detail when the scene allows it, and useful flexibility when the moment needs it.
If you want a deeper technical reference, the film speed and ISO overview gives the background behind the standard. For most photographers and print buyers, though, the useful version is simple: ISO is a trade-off between clean files and usable photographs.
For quiet city images where light, shadow, and detail do most of the work, browse the current London photography print collection.