
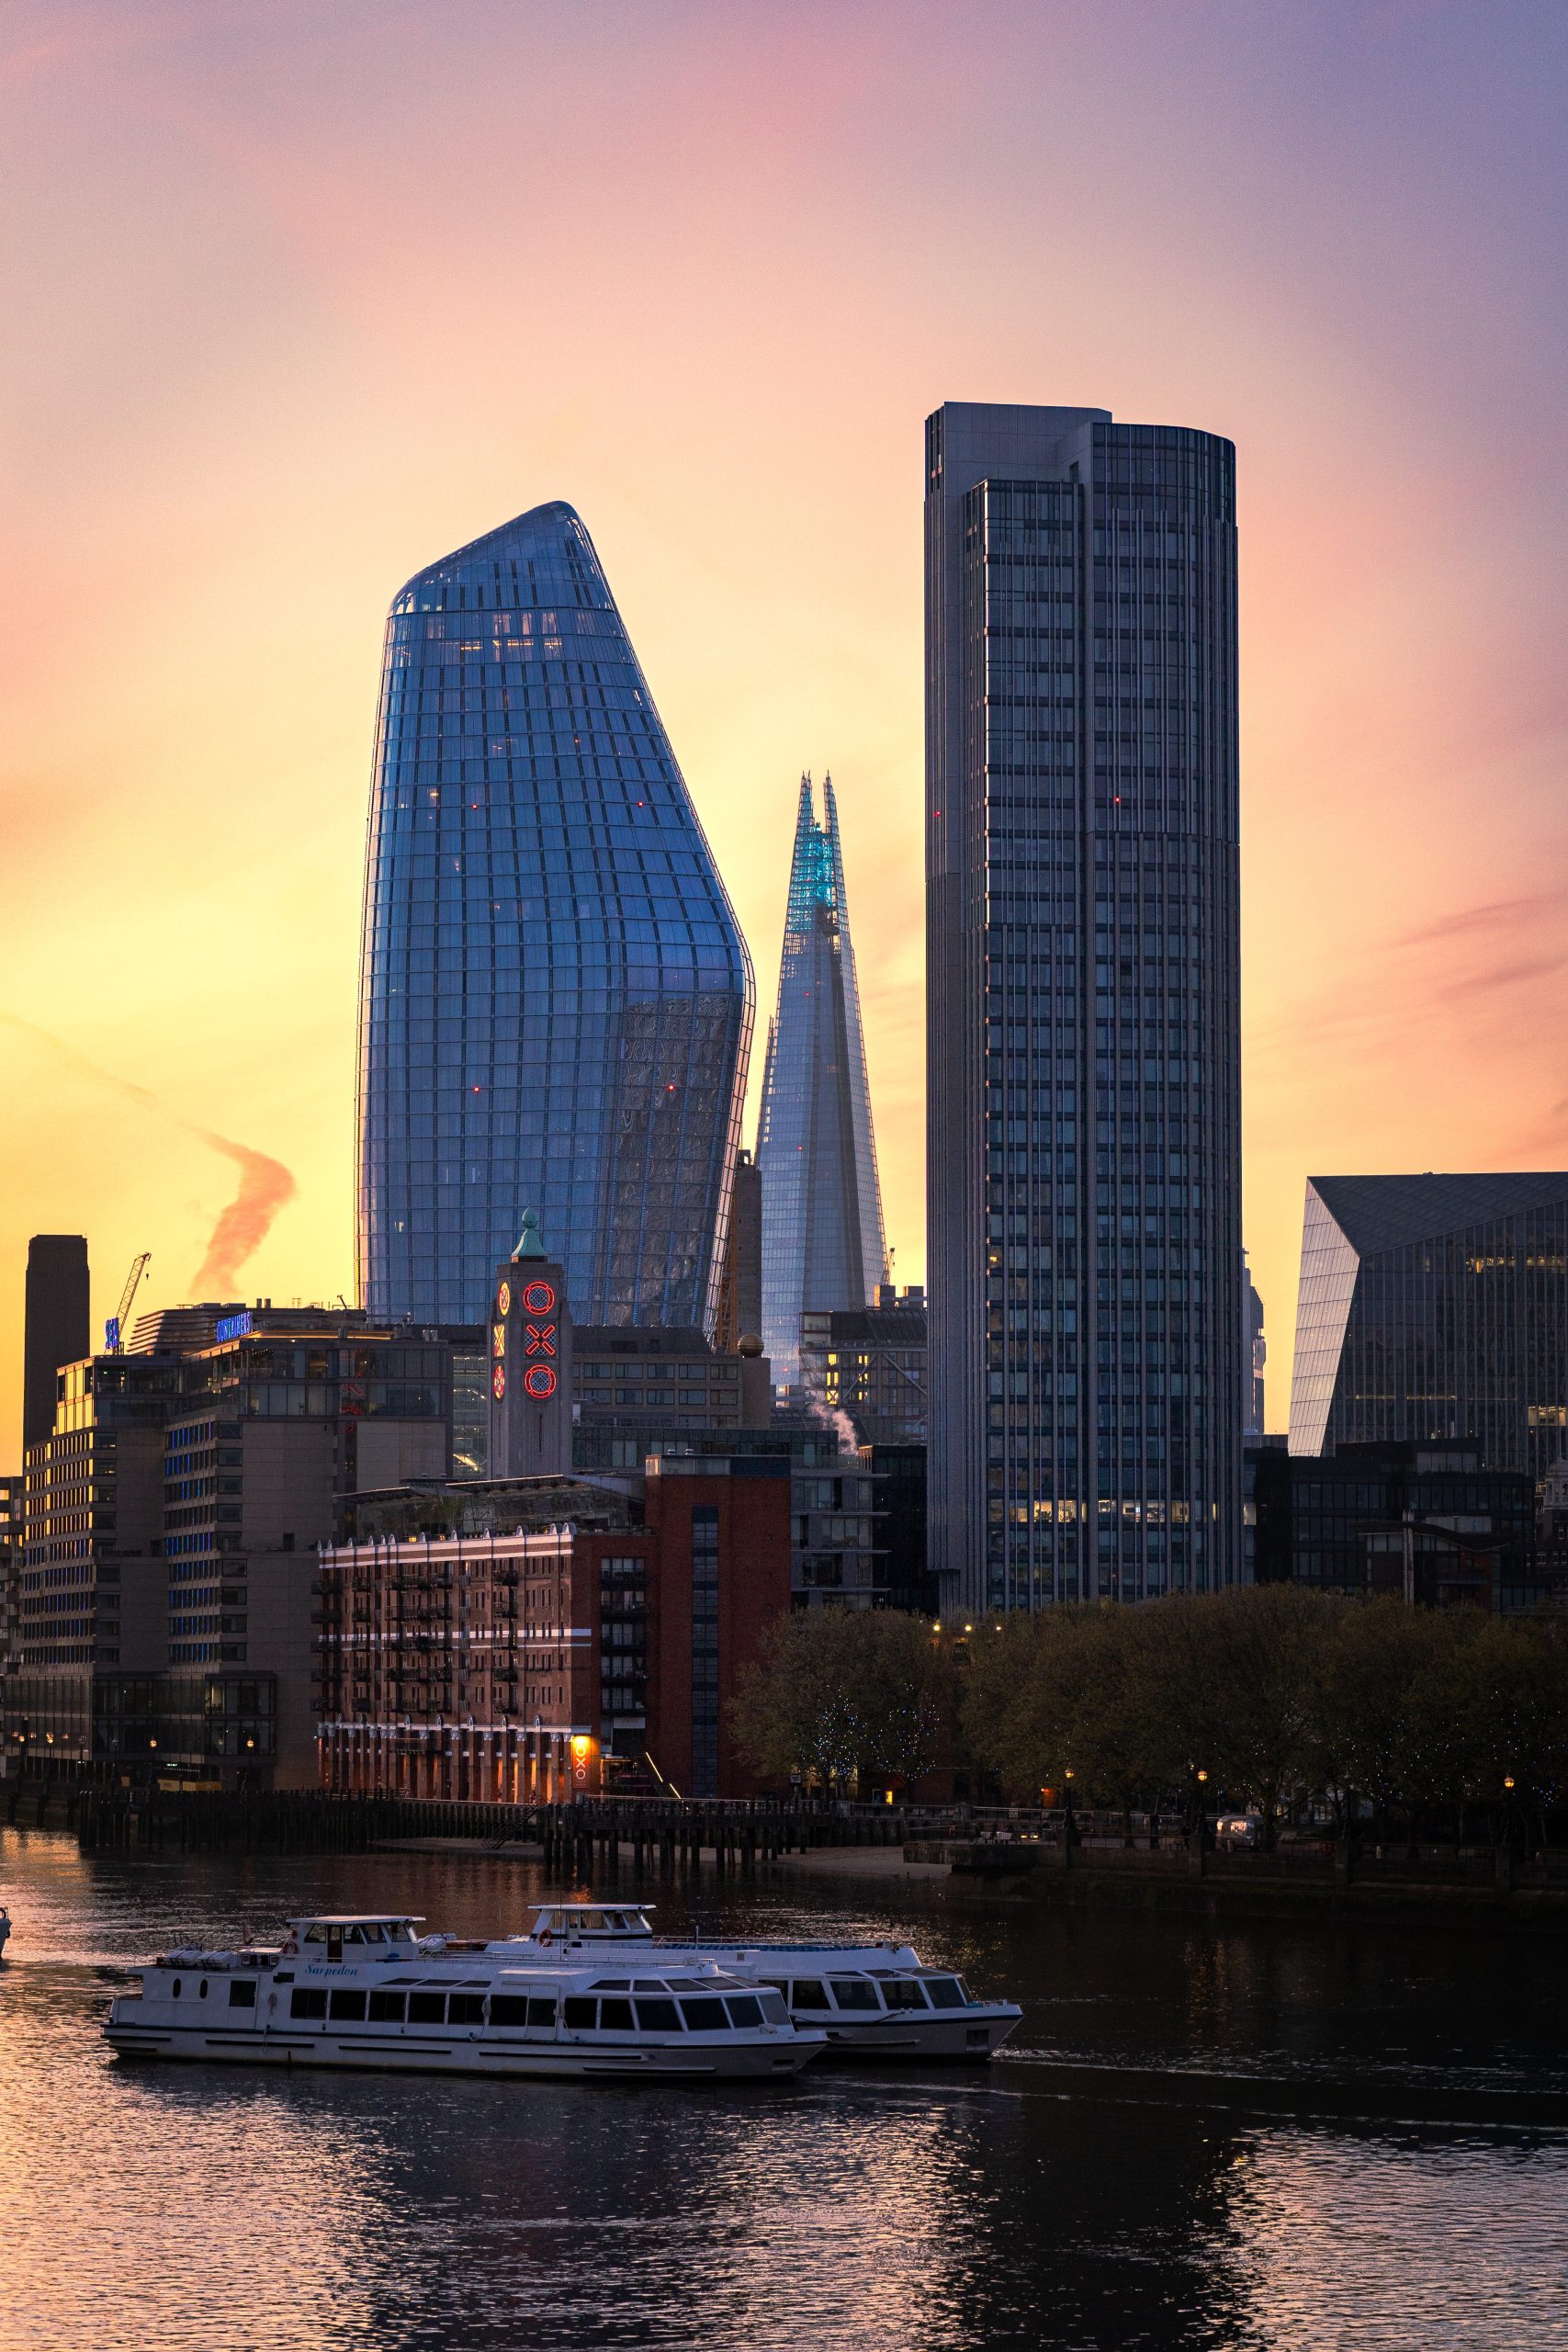
Open-plan rooms need more than a larger version of ordinary wall art. The photographs must work from several distances, help distinct areas feel intentional and still belong to one visual field.
Draw the room as a set of views
Stand at the entrance, sofa, dining table and kitchen worktop. Note which walls are visible from each position and where two art areas appear at the same time. These overlapping views matter more than the formal floor plan.
A photograph that feels balanced close to the dining table may compete with another image behind the sofa when seen from the doorway. Choose one primary wall, then let secondary walls support it. This prevents every zone from demanding equal attention and gives the open room a hierarchy.
Use scale to name the zones
A larger horizontal image can anchor the living area because it relates to a sofa or long wall. A vertical photograph can mark a reading corner, narrow return wall or working area without spreading visual weight. The dining zone may need one contained image rather than a second centrepiece.
Measure the outer frame and consider viewing distance. Open rooms often tempt people to buy art that is too small because the wall looks manageable up close. Judge it from the farthest everyday viewpoint as well.
Connect without matching
The room should feel related, not packaged. Repeat one element across zones: similar frame finish, comparable negative space, a recurring level of contrast or the same pace of light. The photographs themselves can differ.
A city skyline and a mountain landscape may belong together if both use distance and layered evening light. Avoid using identical sizes and subjects everywhere. Exact repetition flattens the zones you are trying to create, while one subtle thread lets them remain distinct.
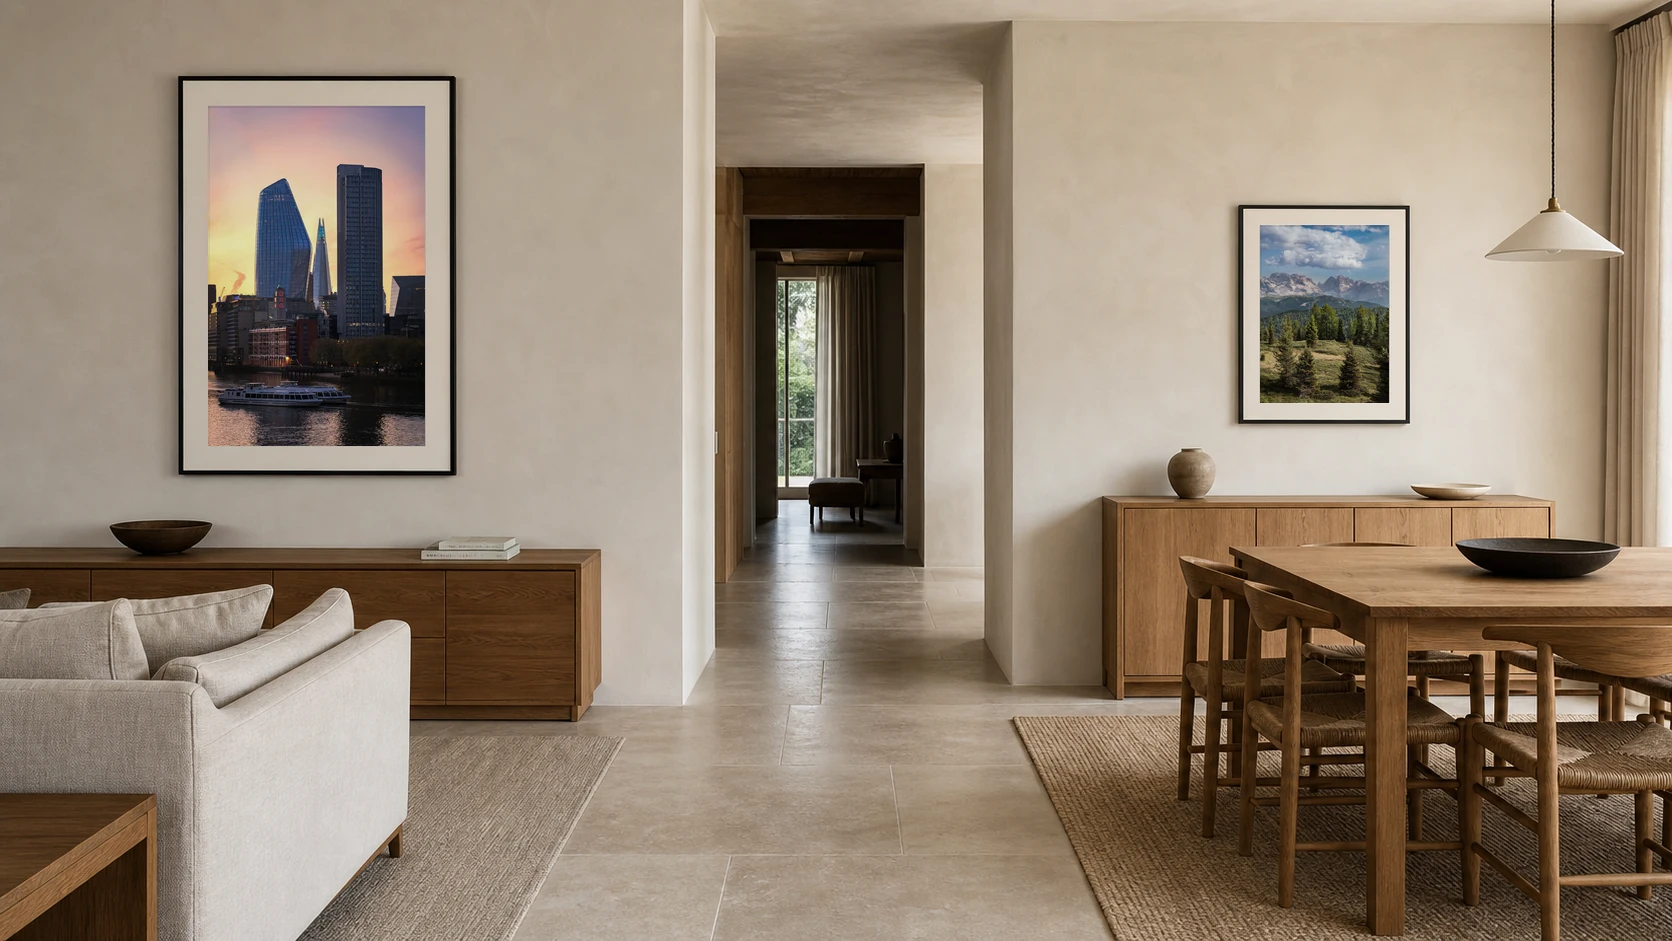
The living and dining frames share a restrained finish, but their scale and subject remain distinct. Leaving the central route without another picture preserves hierarchy across the full room.
Keep circulation walls quiet
Walls beside routes through the room are seen while moving. They need images with a clear structure that can be understood quickly. Save intricate, high-detail photographs for places where people sit.
Near doorways and kitchen edges, allow more empty wall around the frame so the art does not become another obstacle. Check door swings, chairs and sightlines before drilling. An open-plan space already contains activity, surfaces and changing light; the art should organise that complexity rather than mirror it.
Account for different light at each end
One end of an open-plan room may receive bright daylight while another is lit warmly in the evening. View shortlisted photographs at both times. Deep shadow can look strong in the bright zone but disappear in a dim dining area.
A warm sunset may echo evening lamps but become overly orange beside a kitchen with warm cabinetry. Do not force identical colour across the room. Aim for compatible tonal weight so one photograph does not appear much louder simply because of where it hangs.
Edit the whole room after installation
Once the first work is up, remove loose decorative objects and view the room from each mapped position. The art may reduce the need for other wall pieces, shelves or signs.
Add the second photograph only after the first has settled. Open-plan rooms often improve through subtraction because every object participates in several views. A clear anchor and one or two supporting images can create stronger zones than a continuous line of small frames.
Test the room at its busiest
Run the final check when the open-plan space is actually in use. Turn on the kitchen lights, open the curtains, pull out the dining chairs and leave the ordinary objects that appear during an evening. Art that only works in an empty, styled room may add too much once daily life returns.
Check reflections, competing screens and whether a frame sits too close to movement. Then remove unnecessary decorative items before changing the photograph. A strong print should help the room retain order at its busiest, not require the room to remain staged around it.
Two real print directions
These two current Othervariant photographs show how the decision can lead to different subjects without losing clarity. Use the product pages to compare the full image, available presentation and the shape of the work.
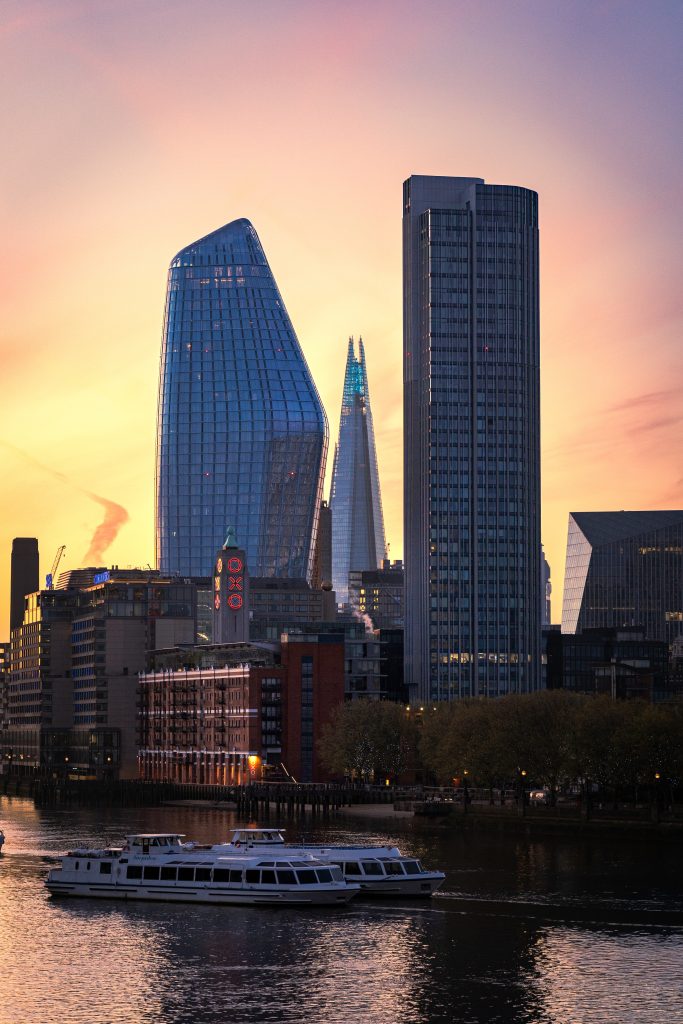
City Glow at Dusk — London Skyline Photography Print
A vertical London skyline can mark a contained zone while warm windows retain presence across a longer sightline.
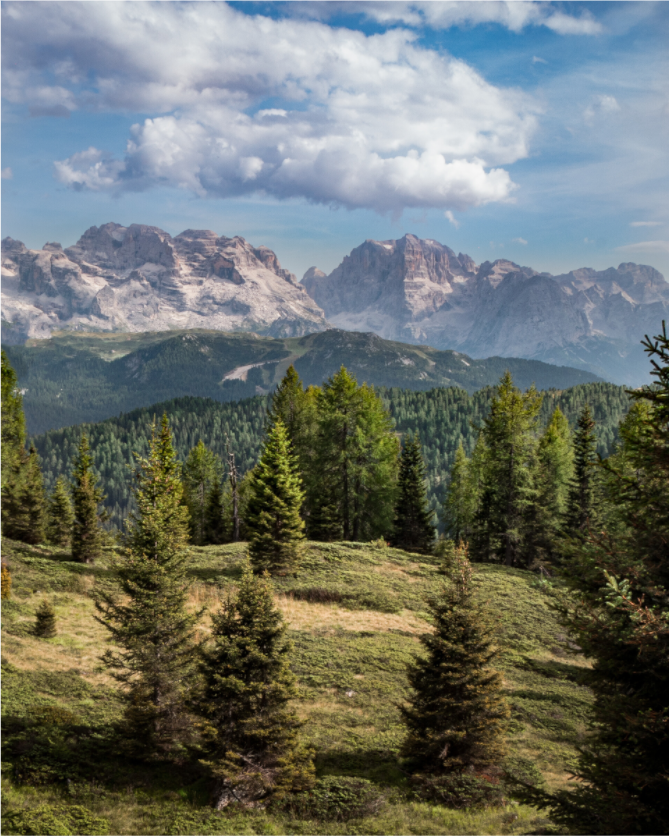
Val di Sole — Italian Dolomites Photography Print
A wide mountain landscape creates distance and can anchor a longer living-area wall without repeating the city subject.
For a broader decision sequence, read the guide to choosing photography art for your home before measuring the final position.
Choose the photograph before filling the wall
Compare the image, room and scale slowly. The current collection is available to browse without urgency.