
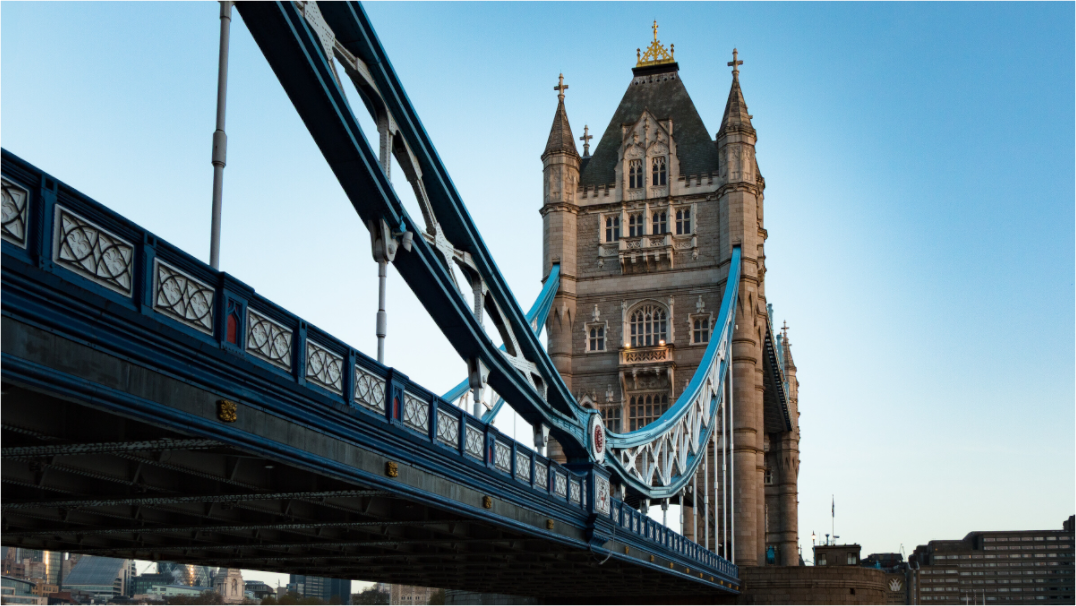
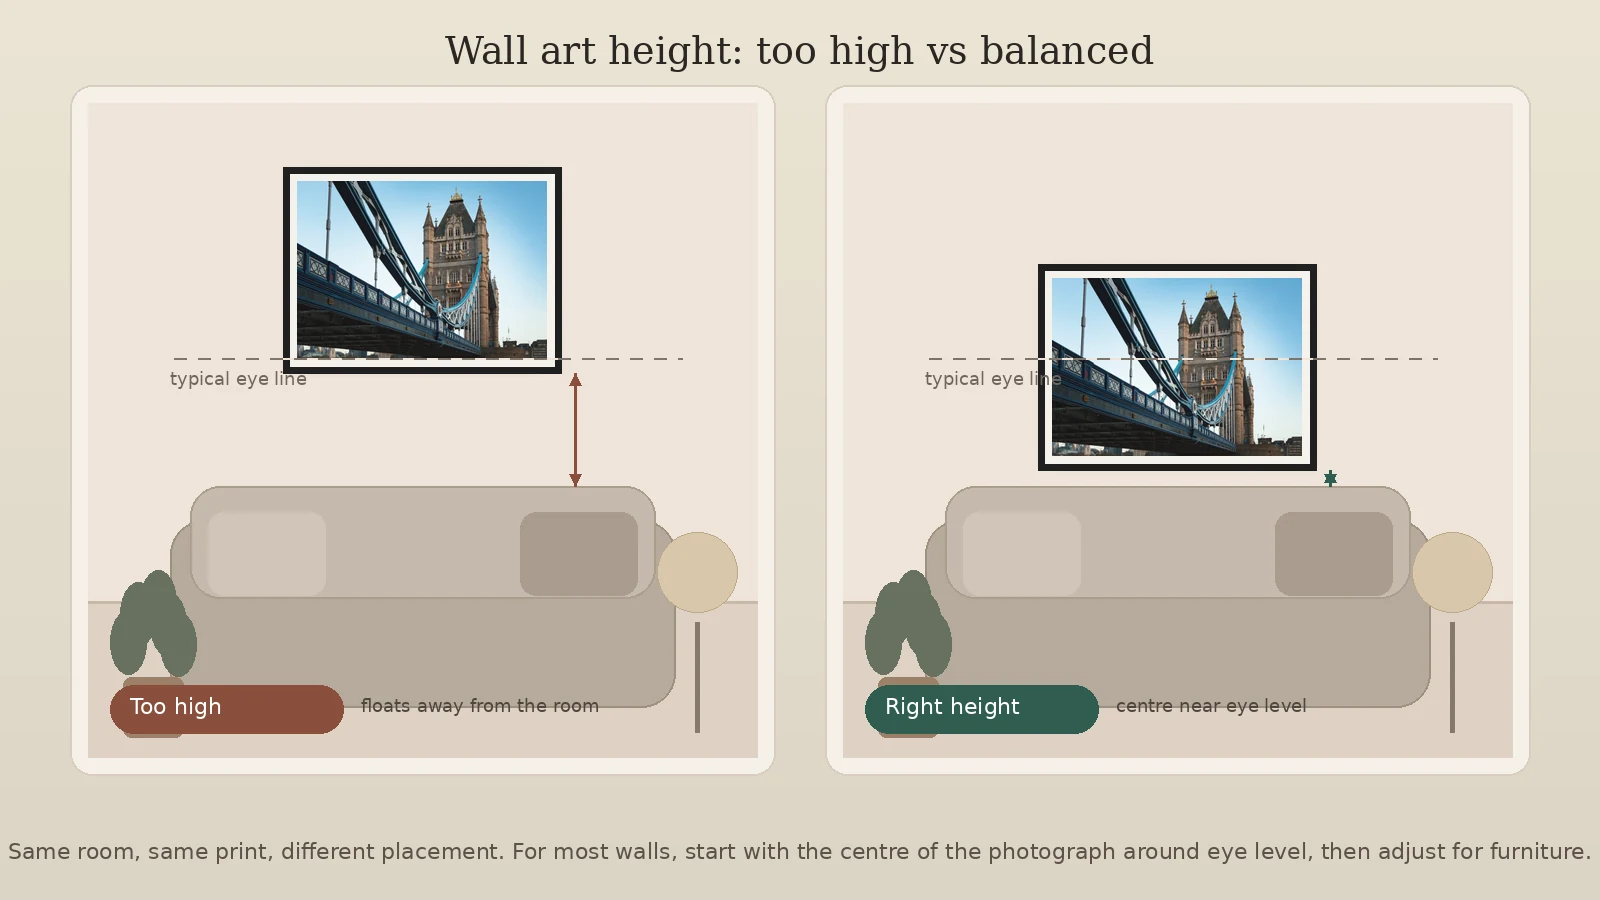
Most photography wall art looks calmest when the centre of the print sits close to eye level. The simple rule is useful, but it is not rigid. A print above a sofa, a narrow hallway piece, or a larger framed photograph may need small adjustments so it feels connected to the room rather than floating on the wall.
Use eye level as the starting point
The most common gallery rule is to hang art so the centre of the piece is at eye level. In many homes, that means the centre of the frame sits around 145–150 cm from the floor. This works because the viewer does not have to look up or down to read the photograph. The print sits naturally in the room, almost as if the wall was designed around it.
This is especially helpful for photography because small shifts in height change how the image feels. A London architecture print placed too high can feel detached and decorative. The same print placed closer to eye level feels intentional, architectural, and easier to look at for more than a few seconds.
When the print is above a sofa or console
If the photograph is going above furniture, the relationship with that furniture matters more than the exact floor measurement. A good starting point is to leave about 15–25 cm between the top of the sofa, console, sideboard, or bedhead and the bottom edge of the frame.
Too much space creates a visual gap. The print begins to float away from the furniture below it. Too little space can make the arrangement feel cramped. The aim is for the furniture and artwork to read as one calm group.
Above a sofa
Keep the print low enough to feel connected to the seating area. For a single framed photograph, the bottom edge often works best a handspan or two above the sofa back.
Above a sideboard
Use the same 15–25 cm gap, then check the top line of the frame against lamps, books, and objects on the surface.
Above a bed
Hang lower than you might expect. The photograph should belong to the bed area, not hover in the empty wall space above it.
Adjust for the size of the photograph
The larger the print, the more important the centre point becomes. With a large framed photograph, the top edge may sit quite high while the centre still feels right. With a smaller print, hanging it too high is more obvious because the whole piece moves out of the natural viewing zone.
If you are choosing a size at the same time as choosing the height, start with the wall and furniture width. A print that is too small often gets hung too high because it feels lost. In a living room, a wider photograph can usually sit lower and calmer because it has enough visual weight to hold the wall. If you are unsure on scale, the living room photography print size guide is a useful next step.
Think about the photograph itself
Not every photograph wants the same placement. A quiet landscape can sit slightly lower, where it becomes part of the room’s atmosphere. A strong architecture print can often hold a more formal position, especially when it has clean lines, contrast, or a central subject.
For example, a print such as Tower Bridge Steel has clear structure and vertical strength, so it works well when the frame is aligned carefully with the room. A panoramic print such as The Shard London Skyline may need a little more breathing room at the sides, but the centre-height principle still applies.
Use a quick paper test before making holes
Before committing to nails or hooks, mark the rough frame size on the wall with low-tack tape or paper. Stand back from the main viewing point in the room. Sit down if the print will mostly be seen from a sofa or bed. The best height is often the one that looks right from the position where you actually live with the photograph.
| Situation | Good starting point | What to avoid |
|---|---|---|
| Open wall | Centre around 145–150 cm from the floor | Hanging small prints far above eye level |
| Above sofa | Bottom of frame around 15–25 cm above sofa back | A large empty gap between sofa and artwork |
| Hallway | Eye level for walking past | Placing prints so high they are only glanced at |
| Pair or set | Treat the group as one larger artwork | Aligning each piece separately without considering the group |
If you are hanging two prints
When hanging a pair, treat both prints together as one composition. Find the centre point of the pair, not the centre point of each individual frame. Keep the spacing between the two prints consistent and quiet. If the pair is above furniture, the lower edge of the whole arrangement should still feel connected to what is below it.
This is where similar subjects help. Two London prints, two black and white photographs, or two quiet landscapes usually feel calmer than unrelated images fighting for attention. If you are building a pair, the guide to pairing two photography prints covers spacing, tone, and subject choice in more detail.
The simple rule
If the wall is empty, start with the centre of the photograph at eye level. If the photograph is above furniture, lower it until it feels connected to the furniture. Then step back and trust the room. Good hanging height is not about following a number perfectly. It is about making the photograph feel settled.
Prints mentioned in this article
A quick visual reference for the Othervariant prints linked above.
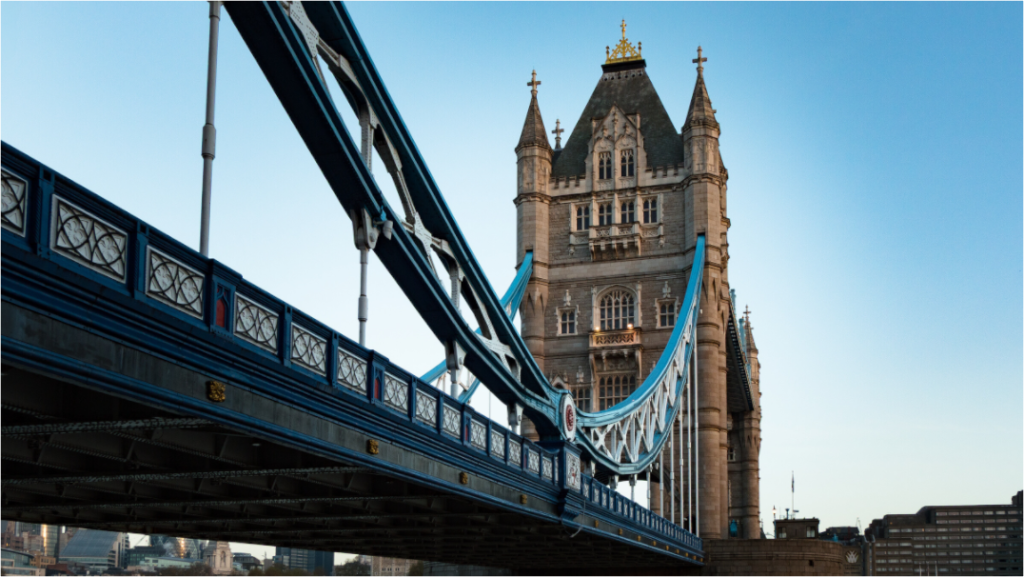
Tower Bridge Steel
A structured London architecture print that makes hanging height and wall spacing easy to judge.
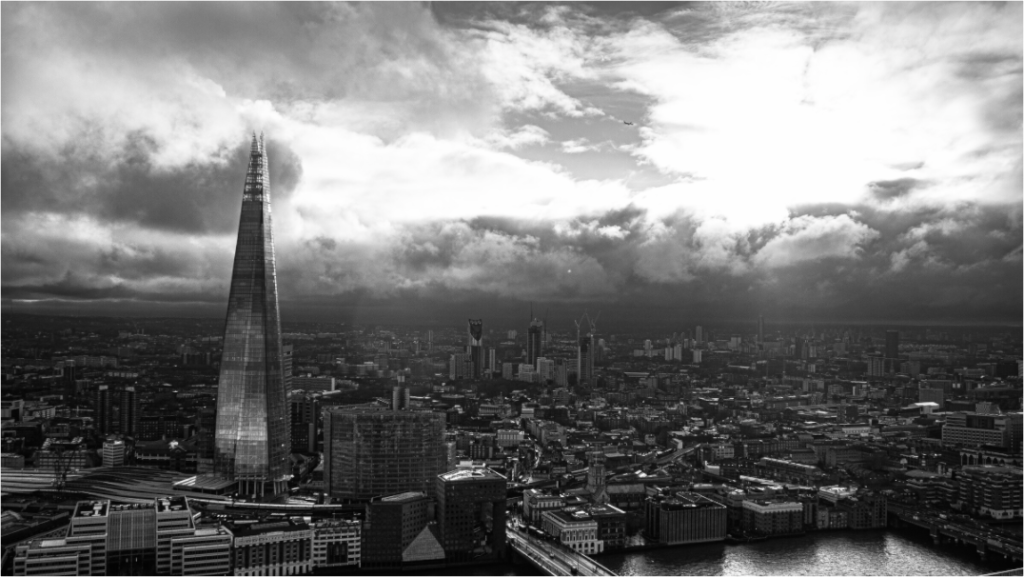
The Shard from Sky Garden
A panoramic London skyline print where scale, eye level and furniture spacing matter clearly.
Choose a print before choosing the height
The right height is easier to judge once you know the photograph, frame size, and wall. Browse the London photography print collection for architecture and skyline prints that work well in living rooms, hallways, and calm interior spaces.